h. Connect to the Cluster
The cluster we created in Section e takes about ~15 mins to create. If you’re still waiting for it, grab a ☕️.
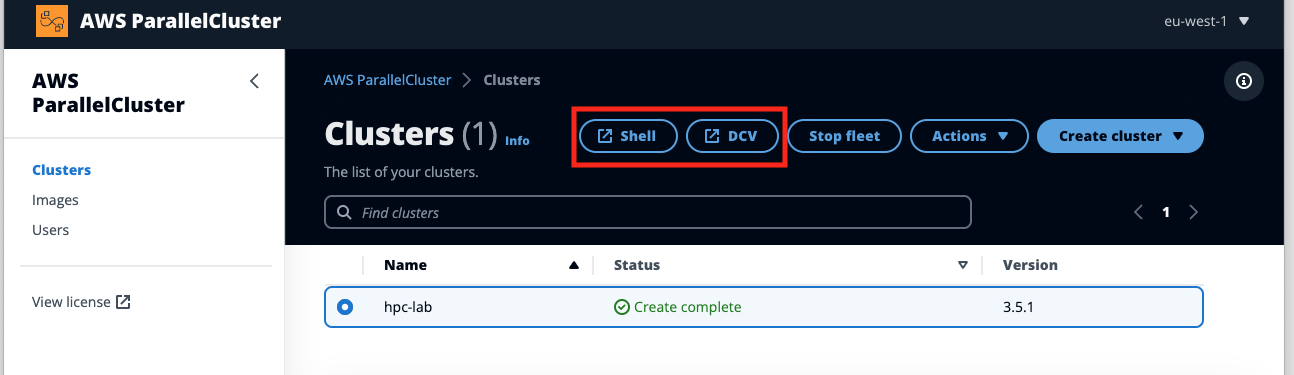
Once the cluster goes into CREATE COMPLETE, we can connect to the head node in one of two ways, either through the shell or via the DCV session:
SSM Session Manager is ideal for quick terminal access to the head node, it doesn’t require any ports to be open on the head node, however it does require you to authenticate with the AWS account the instance it running in.
DCV is a full graphical remote desktop that allows you to run GUI applications on the head node. It doesn’t require AWS account access but does require you to be able to connect to the head node on port 8443.
SSM Connect
- Click on the Shell Button to connect:
You’ll need to be authenticated to the AWS account that instance is running in and have permission to launch a SSM session. Once you’re connected you’ll have access to a terminal on the head node:

DCV Connect
- Click on the DCV Button to connect:
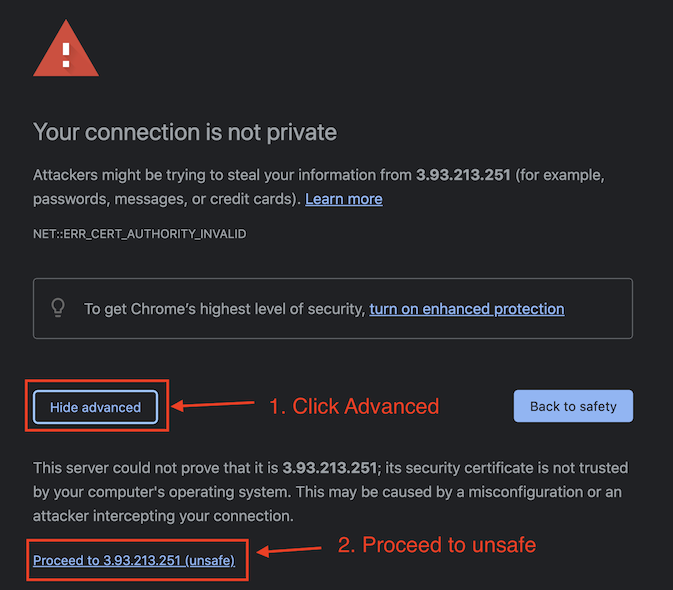
- As a one-time step since DCV uses self-signed certificates you’ll need to click on Advanced > Proceed to Unsafe:
If you are asked by your browser if you would like to share the clipboard, push Allow. This permits the use of copy/paste commands between your computer and the machine you’re connected to through DCV. This will make some of the following sections much easier!
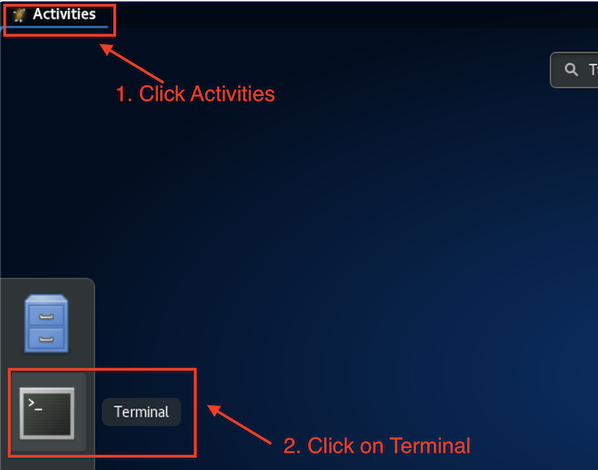
- Next, to launch a terminal (where the rest of the lab will run), click Activities > Terminal:
If the DCV screen (Linux desktop) goes blue at any stage with the current date and time, click inside it and push the space bar. The screen automatically locks after a period of time.