File Cache on the headnode
Select the Cache by clicking on the Radio button. Then press the Attach button in the top right of the screen. A new Window will be displayed that looks a bit like the screen shot below.
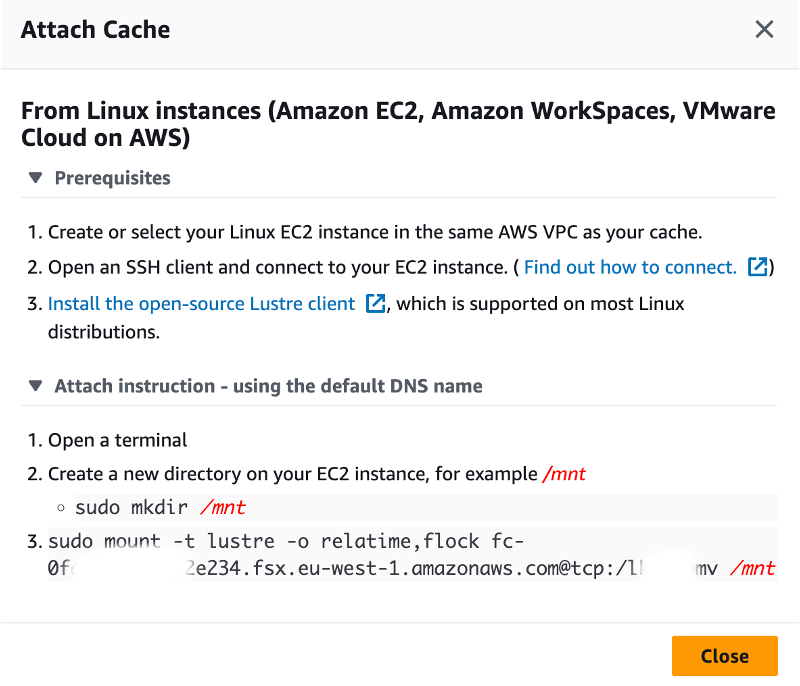
This shows the commands to mount the filesystem. You can also obtain the mount command by running the following commands on your Cloud9 Instance.
CACHE_DNS_NAME=`aws fsx describe-file-caches | jq '.FileCaches[0].DNSName' | sed s/\"//g`
CACHE_MOUNT_POINT=`aws fsx describe-file-caches | jq '.FileCaches[0].LustreConfiguration.MountName' |sed s/\"//g`
echo Mount command = sudo mount -t lustre -o relatime,flock ${CACHE_DNS_NAME}:/${CACHE_MOUNT_POINT} /mnt
sudo mount -t lustre -o relatime,flock fc-xxxxxxxxxx.fsx.eu-west-1.amazonaws.com:/xyzabc /mnt
Once you have the commands, in a seperate browser window, please return to Cloud9, then login to the Cloud Cluster.
Login to the headnode of the cloud cluster and mount the new file system by copying the commands shown. An example is below. Do not use the values below, but use those from your environment. First login to the cluster with
pcluster ssh -n cloud -i ~/.ssh/ssh-key.pem -r ${AWS_REGION}
Then when logged into the headnode of the cluster, be sure to replace the id and folder of the File Cache with your details.
sudo mkdir /mnt
sudo chown ec2-user.ec2-user -R /mnt
sudo mount -t lustre -o relatime,flock fc-xxxxxxxxxx.fsx.eu-west-1.amazonaws.com@tcp:/aaaaaaaaa /mnt
To mount the filesystem at boot time you could add a line to the /etc/fstab file. In this lab, just don’t reboot the server!
Finally to make life easy, we will create a link to point /data to /mnt/cache/data, this means that data in /data on the onprem cluster will also be in /data on the cloud cluster.
sudo ln -s /mnt/cache/data/ /data